
Do you want to create a bootable USB pen drive to install Windows 11 on Ubuntu? Here is the guide that helps you.
Requirements:
- USB pen drive (8GB or more)
- Root password (or sudo privileges)
- The disk image for Windows 11 (Link below)
Ventoy is a great free and open source tool wherewith you can simply copy iso images to a USB pen drive and then mount and run them easily, directly from your computer without the need of another operating system.
Step 1: Download the Windows 11 disk image
Download the Windows 11 disk image from the official Microsoft website:
https://www.microsoft.com/en-gb/software-download/windows11
Do not use any third party iso files for obvious security reasons.
Step 2: Download and run Ventoy
Now that the Windows 11 image is downloading, we have to download the tar.gz file from Ventoy’s website. You can download it here: https://www.ventoy.net/en/download.html
It is recommended to download the latest version. The file that should be downloaded ends with tar.gz. Once you have downloaded the file, extract the inner folder –> . –> ventoy-(version) to your home folder.
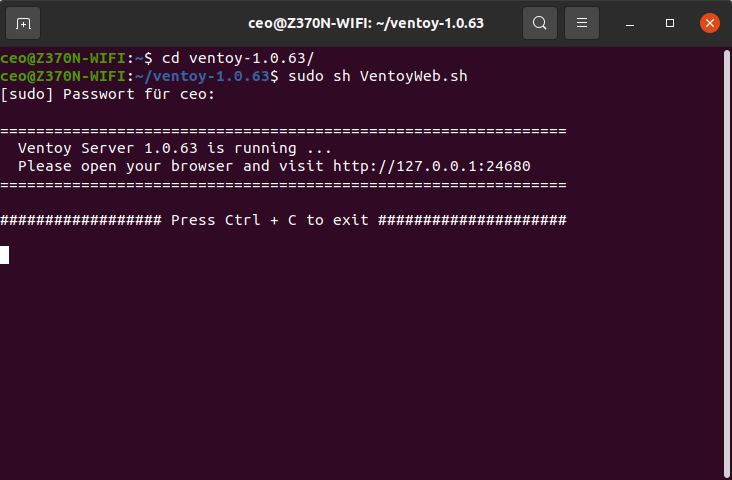
Open a terminal window (CTRL+ALT+T) and run:
cd ventoy*
sudo sh VentoyWeb.sh
Insert your USB pen drive on this point. Now be sure that you have a double back-up of all the USB pen drive’s content as the application will completely remove everything on the USB pen drive. You have been warned!
Step 3: Flash Ventoy on the USB pen drive
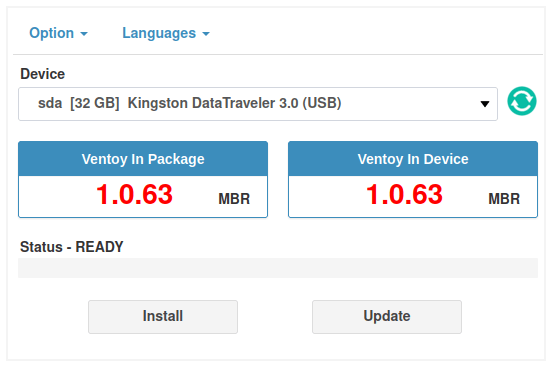
Open Firefox (if not open yet as you are reading this page, haha) and navigate to http://127.0.0.1:24680. If the connection has failed, then double check that VentoyWeb is still running in the terminal window. Select the USB pen drive from the list that you want to use for the Windows 11 installation and click on Install.
Confirm your action by clicking on Continue twice. The USB pen drive will be formatted. Wait for at least a minute after the operation has been completed to make sure that the USB pen drive is not writing changes, then re-attach your USB pen drive and close the Ventoy web tool.
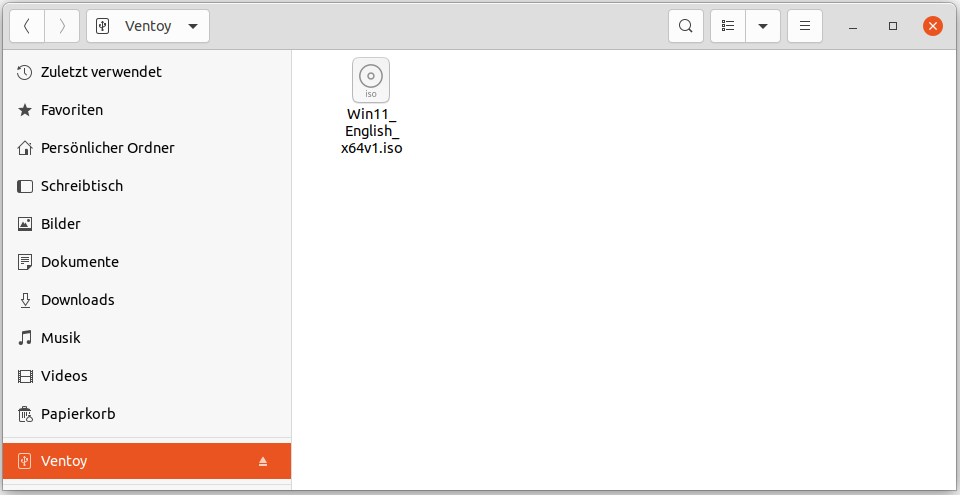
Step 4: Copy the ISO file to the USB pen drive
You can now simply copy the ISO file that you have downloaded in step 1 to the partition of the USB drive that is called ‘Ventoy’.
Once the ISO file has been copied, make sure to remove it safely by clicking on the Eject icon. Do not remove the USB pen drive until the computer says you can do so safely.
That’s it! You can now simply use your USB pen drive to boot to Windows 11. You can even copy other images of operating systems to your Ventoy USB pen drive to create a personal library of operating systems.